Showing posts with label Pinterest Projects. Show all posts

Tuesday, March 12, 2013

Pinterest Challenge Day 21 & 22

Day 21

Cheddar Bacon Ranch Chicken Pasta, & Contact Paper Art Project


Yeah sooo this was a hit...but then any time that you cook things in bacon grease you really can't go wrong!  Obviously not the healthiest dinner in the world but Jake really liked it so this will grace our tables presence again!   

Cheddar Bacon Ranch Chicken Pasta

1 pound mostaccioli or other short pasta
6 strips of bacon, diced
1 tablespoon butter
2 boneless skinless chicken breast halves, cut into bite-size pieces
2 tablespoons all-purpose flour
1 packet ranch dressing mix
2 cups milk
1 cup shredded cheddar cheese
Salt and pepper to taste


1. Cook pasta according to package directions in boiling salted water; drain, return to pot, and keep warm.
2. Meanwhile, cook bacon in a large skillet over medium heat until crisp. Drain on paper towels. Drain all but one tablespoon of bacon drippings from the pan.
3. Season the chicken with salt and pepper. Add the butter to the reserved bacon drippings, then add the chicken to the same skillet. Cook until tender, no longer pink, and slightly browned.
4. Sprinkle the flour and ranch dressing mix over the chicken, stirring to coat evenly. Stir in the milk, and cook, stirring occasionally, until thickened and bubbly. Stir in the cheddar cheese and half of the reserved bacon; cook and stir until the cheese is melted. Taste for seasoning and adjust as needed.
5. Add the cheese sauce to the reserved pasta and stir to combine. Serve each plate of pasta with more bacon sprinkled over the top. Green onions would also be a delicious topping.


Contact Paper Project

When I saw this pin I knew Kylie Jo would be all over it because she got to make a mess but her hands didn't have to get messy!  She gets pretty concerned when her hands start gettin messy!


First she had to rip tissue paper into pieces.  She spent a good 10 minutes just ripping the paper!  


Look at that concentration!  Who knew ripping tissue paper could be so much fun?


Once the tissue paper was ripped up we started sticking pieces onto our contact paper.  Then we started adding some glitter.  Whew glitter was an exciting turn of events for this glitter lovin girl!


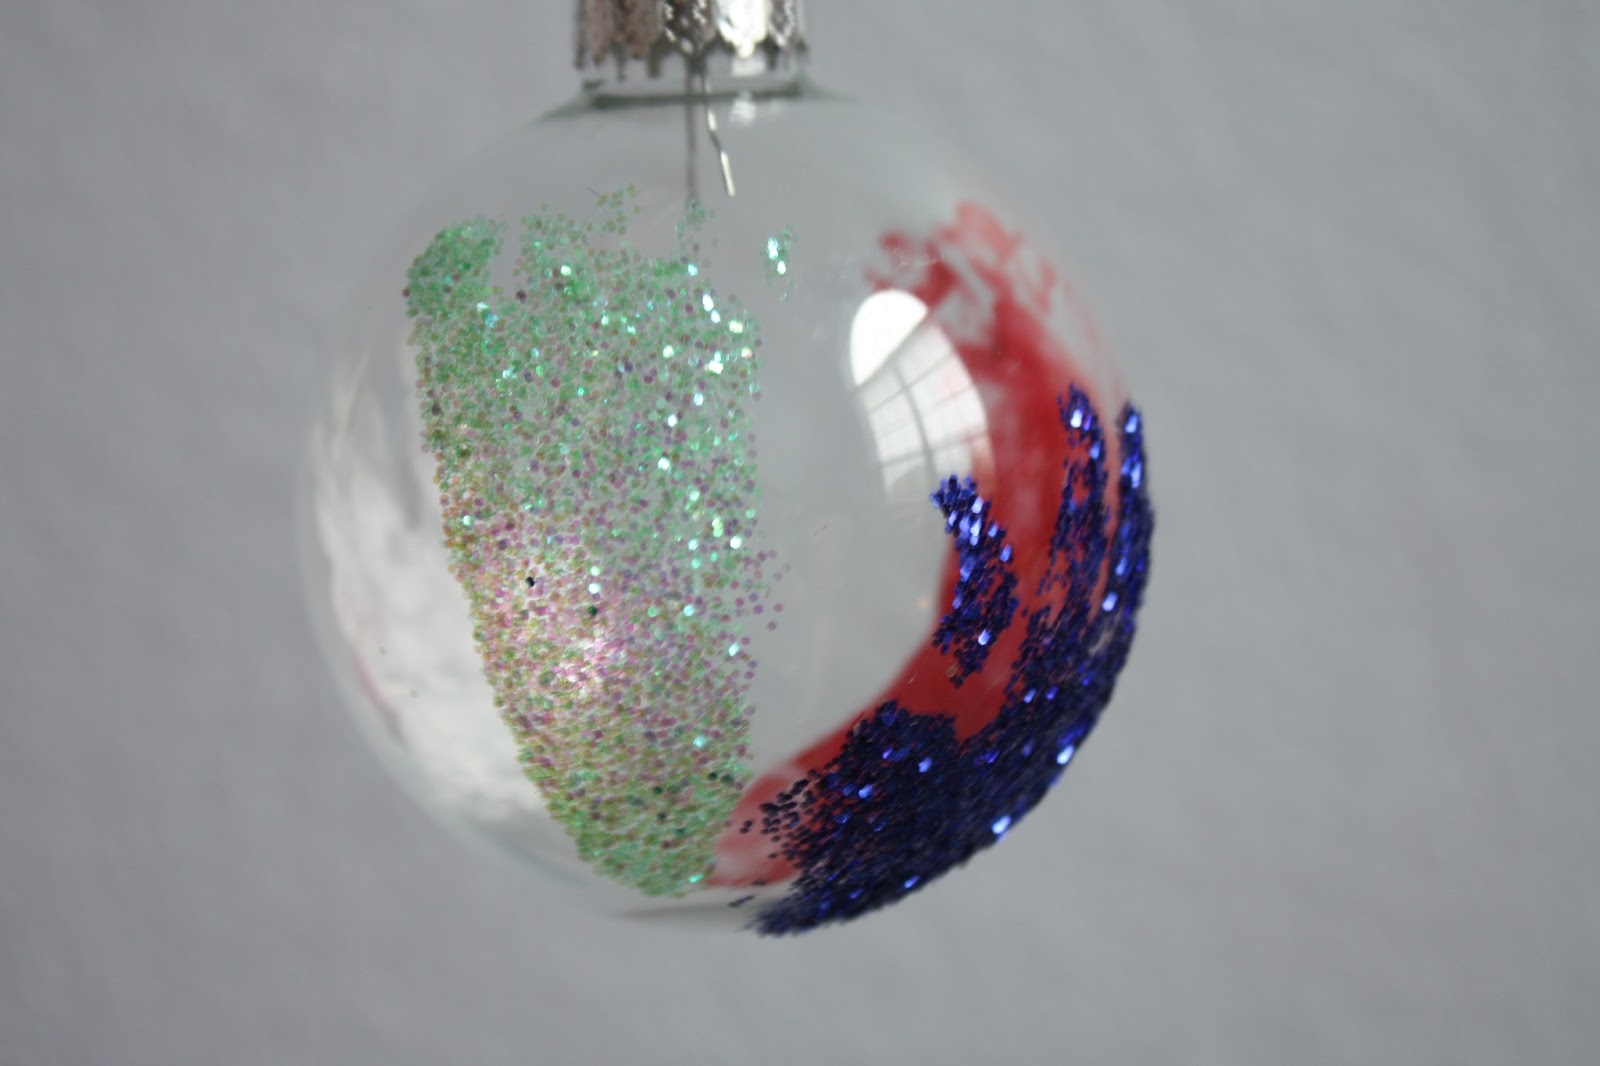
Grabbed Duck to help out with this project.  (We picked just green because this was a St. Patricks-ish project)


All finished.  I'm a big fan of Kylie Jo helping clean up her messes!  Before we could move onto snack time (which she LOVES) all the extra tissue paper had to make it in the garbage!

This was really fun for Kylie Jo and really easy to get all together for me.  It's not something we will probably do again (except maybe for leaves in the fall) but it was a fun one time project!

Day 22
Avocado Lime Salmon


 One of my good friends in college made the best tilapia and I've been hooked on fish ever since!  Every single bite of fish that I take I seem to find myself letting out a nice long Mmmmmm!  There is just something about how a well cooked fish melts in your mouth.  So when I came across this recipe I was extremely excited to try it.

This was probably the single best recipe that I have yet to find for Salmon.  The seasoning rub on the fish is so tasty.  As if that isn't enough, the nice Avocado salsa on top really adds an interesting and delicious flavor.  Avocados are a staple in our house because they are arguable the best fruit out there!  They just have such a rich and creamy flavor....they added such a unique twist to this dish.  The fish was cooked nice and crispy on the outside and was melt in your mouth good on the inside.

Jake, an absolute fish hater, even liked this.  Not something he'll be requesting but for a person who doesn't like fish to eat the entire thing and say it was good is a BIG deal!

The only thing that I deviated from was cooking the fish on the stove instead of grilling it.  AND I used jalapeno peppers for the hot pepper but a red or yellow hot pepper would make the topping look so pretty!  I will be making this fish tomorrow for lunch and I cannot wait!

 Ingredients (for 4 people):
2 lbs salmon, cut into 4 pieces
1 tbs olive oil
1 tsp salt
1 tsp ground coriander
1 tsp ground cumin
1 tsp paprika powder
1 tsp onion powder
1 tsp black pepper
Avocado salsa
1 avocado, peeled, seeded and sliced
1 small red onion, sliced
3 mild hot peppers, seeded and deveined, diced or sliced
Juice from 2 limes
3 tbs olive oil
2 tbs finely chopped cilantro
Salt to taste
Suggested sides – Rice and patacones
Preparation:
  1. Mix the salt, coriander, cumin, paprika, onion and black pepper together, rub the salmon fillets with olive oil and this seasoning mix, and refrigerate for at least 30 minutes.
  2. Pre-heat the grill.
  3. Combine the avocado, onion, hot peppers, cilantro, lime juice, olive oil and salt in a bowl and mix well, chill until ready to use.
  4. Grill the salmon to desired doneness. (OR cook on stove)
  5. Serve the salmon topped with the avocado salsa, and with rice.


Tuesday, March 5, 2013

Pinterest Challenge Day 20

Day 20
Painting on Foil

This for sure doesn't take rocket science....I told Kylie Jo she could paint after she took a good nap.  She woke up shouting....MOM LET'S PAINT!  Why painting on a different surface is fun I will never understand but she loved painting on foil!  It kept her entertained for a good 30 minutes and I know she'll be excited when we do it again!  Here's her painting fun in pictures:


Hmmmm....how does this thing work?


Hard at work creating her masterpiece.


I'm here too people!  I can't wait to do all the things my big sis gets to do one day!


Somebody is crackin a little smile.  She likes how her painting is turning out!


Lila askin if she can paint too?!


Kylie told me no mom!  I don't know how I feel about being told no!


Hmmmmm so how does this painting thing work?


Sis yelled at me to get away from her painting stuff so mom made her kiss my head and apologize.....


Friends again.  Lila doing some talking to her big sis!


Friends for a few seconds before Kylie squeezed cheeks and started "talking" for Lila.  SOOO Lila whapped her in the face.  Never a dull moment around here!

Saturday, March 2, 2013

Pinterest Challenge Day 18-19

Day 18
CrockPot Pineapple Chicken & Milk Jug Fun


I'd make this again.  Favorite pinterest meal find....?  Nope!  A little bland?  Yes!  Every now and then when I want a super simple meal I could see making this!  If you don't lay it over a nice buttery bed of rice probably would be REALLY bland though.  It was easy and healthy (minus the buttery rice addition haha)  

(I KNOW it doesn't look real appetizing!)  

3-4 Chicken Breasts
1 Can of Pineapple in juice (chunks, rings, tidbits...doesn't matter)
1 Medium Onion Sliced
2 Tbsp Soy Sauce
1/2 Cup Chicken Broth

Cook on Low for 6-7 Hours in Crock Pot


SERIOUSLY serve over REAL Rice!  Throw away that minute rice people....a few more minutes gets you the best rice EVER!

Rice Cooking Lesson for those of you who fail at rice every time!  I used to be that person who could never get rice right and then I had had enough.

1 cup rice
2 cups water
1/2 tsp salt (Could leave out but WHY?...Salt brings out the flavor!)
1 Tablespoon Butter
(Will yield 3 cups when finished cooking)


Put it all in a pot and bring to a boil!
Bring down to a simmer for 15 minutes.
Keep covered while simmering.
Stir a few times so it doesn't stick to the pot.
After 15 minutes water should be absorbed into rice.  If not simmer a little longer but I honestly NEVER have this problem.  It'll look a tiny bit watery and that's okay.
Pull of burner, fluff with fork quickly, then put lid back on and let sit for 5-15 minutes.  THIS IS THE KEY!


NOW onto.............

"Milk" Jug Fun 

I had two empty distilled water jugs from filling up the girls humidifiers for the 1000th time this winter when I remembered this pin.  I took my bread knife and sawed off the ends.  The jug was sharp where I cut it so I put some duct tape around the opening and hello fun way to catch a ball!  Dad came home from work just in time to get in on the action!

Ready, Set, Throw Dad!


What a stud in his work clothes!  Haha even dad's having fun!  


Laughing watching dad chase after one of her "throws".

Super excited that she actually caught it! 


AND now she starts getting creative!  It's a hat..


Now it's a megaphone (mom wishing it was in the garbage!)  She had a lot of fun with this.  Didn't hold her attention for hours but it's not really supposed to.  I see her and dad playing "catch" every now and then.  She called it her baseball gove.  You mean gLove Kylie?

DAY 19    
Chicken and Biscuit Casserole, Berries and Cream & Organizing Fabric


This Chicken and Biscuit Casserole was pretty good!  We (and by we I mean Jake) are not big fans of super saucy meals, so I would probably add more chicken next time I make this.  It reminds me a little bit of biscuits and gravy, which anybody who really knows me knows I am in love with!  Only complaint was that the middle biscuits were still a little doughy.  SO next time I am going to turn down the heat and turn up the cook time to see if that will help!    

1 Biscuit Tube
1 Can Cream of Chicken
1/2 Cup Sour Cream
1/2 stick of butter
2 cups cooked, chopped chicken
3 TBS milk

Mix all together and put in square pan.
Top with 1 cup of cheddar cheese
Put Biscuits on top of cheese
Bake 375 for 35 minutes (Think I'll try 350 for 45-55 minutes)


When the toddler eats what we are eating without tons of complaining it's a successful dinner!


Berries and Cream


Before having kids I wasn't a dessert person.  I could go weeks without having dessert and I would be totally 100%  fine.  Then somewhere along the pregnancy road I developed a love of sweets that I have yet to get rid of.  SOOOOO this love has created a new tradition in our family.  Friday night Dessert Night!  Jake, who has always had a sweet tooth, might love this tradition even more then me.  When he saw this berries and cream dessert on my pinterest board his face lit up with glee and his heart pitter pattered with excitement.  It for sure lived up to it's anticipation.  At first we didn't defrost the fruit and it was too cold for our teeth.    It was tons better when the fruit was defrosted!  I can see this one making a regular appearance on Friday nights in the summer!  

Tub of Cool Whip
Large Tub of Vanilla Yogurt
Cheesecake pudding Mix
Frozen Mixed Berries (Mostly thawed)

Mix everything together and let set in the fridge for a little bit.   

Organizing Fabric


Now that I have slowly begun to tackle my fear of the sewing machine I have extra fabric suddenly collecting in my "craft" room.  I am a huge believer in everything having a place and that the place everything has is easy to get to.  When I saw this idea for fabric I knew it was going to happen.  I ordered a pack of 100 Comic Book Backing Boards from Amazon for $13.00 and then went to town wrapping my extra fabric around the boards.  After the fact I realized you could probably just use cereal boxes cut to the size you want and spray paint them.  BUT it's so much easier and so much of a time saver to just order it.  I love how easy it is for me to see what I have now!      


Tuesday, February 26, 2013

Pinterest Challenge Day 16 - 17


Day 16
Book Case

SOOOO this was inspired by Pinterest but I want to make sure to really give all the credit to my amazing husband for this one.  I had pinned a bookshelf that had crown molding on the top and the bead board as the back of the shelf.  I showed Jake several pins and he went to town.  I still need to get to the Container Store so I can get my grey and coral bins to put all the toys in but this is SUCH a beautiful piece of furniture that I will cherish forever!  Toys are off the floor now!  YEAH


Just wanted you to get a feel for how massive the shelves are and how CLEAN the playroom is now!  Look at that Lila Ruth crawlin around!


Day 17
Tomato Basil Soup

One thing you have to know about me is that I'm a soup girl.  I like my soup!  I could probably eat soup every single cold day of the year.  Jake not so much though so I don't make soups all that often.  I was excited to try this and boy it was just so stinking great!  I cut up all of the stuff the night before, got the crock pot going in the late morning and then 30 minutes before dinner added the last ingredients.  It was SUCH a good soup!  We ate it with turkey grilled cheese and spinach grilled cheese sandwiches.  I've actually never put spinach in a grilled cheese before but I'm trying to eat healthier SOOO I put some spinach in my GRILLED CHEESE hahaha because grilled cheese gets healthy when you throw in some spinach (just so ya  
 know)!
Soup in a mug equals easy to drink while holding a baby!


     INGREDIENTS
2 (14 oz) cans diced tomatoes, with juice
1 cup finely diced celery
1 cup finely diced carrots
1 cup finely diced onions
1 tsp dried oregano or 1 T fresh oregano
1 T dried basil or 1/4 cup fresh basil
4 cups chicken broth
½ bay leaf
½ cup flour
1 cup Parmesan cheese
½ cup butter
2 cups half and half, warmed (I would go with only a cup and a half though)
1 tsp salt
¼ tsp black pepper
DIRECTIONS
1. Add tomatoes, celery, carrots, chicken broth, onions, oregano, basil, and bay leaf to a large slow cooker.
2. Cover and cook on LOW for 5-7 hours, until flavors are blended and vegetables are soft.
3. About 30 minutes before serving prepare a roux. Melt butter over low heat in a skillet and add flour. Stir constantly with a whisk for 5-7 minutes. Slowly stir in 1 cup hot soup. Add another 3 cups and stir until smooth. Add all back into the slow cooker. Stir and add the Parmesan cheese, warmed half and half, salt and pepper. Add additional basil and oregano if needed (the slow cooker does a number on spices and they get bland over time, so don’t be afraid to always season to taste at the end).
4. Cover and cook on LOW for another 30 minutes or so until ready to serve.


Monday, February 25, 2013

Pinterest Challenge EPIC FAIL! Days 14-15

Sooo this 30 day Pinterest challenge has "ended" as an epic fail.  I should be finished when in reality I have only made it to day 15.  I am still going to finish but not in the time frame that I originally picked...so NO pinning for 30 days for me!  When I started this the thought of failing and not being able to pin for 30 days freaked me out.  Yet I find myself glad that I am taking some time off of pinning on Pinterest.    

What I realized along the way was that diy projects, gourmet meals, fun activities with the kids, etc.: all these things are awesome but that life right now is, well, put plain and simply, it's crazy!  There are days when we eat something you stick in the oven, the house looks like it has been taken over by a tornado, and getting all our teeth brushed is an accomplishment.  And what I realized is that's okay....my life doesn't have to look Pinterest perfect.  What is more important to me then finishing a challenge that I set out to do is quality time with my God, my family, and my friends.  At the end of the day that is what matters most!  So I set out to delete 30 pins in 30 days and instead I found when that started encroaching on my quality time with those around me I quit.  I hate being a quitter but the lesson that I learned about myself through this is paramount.  I will quit every time if relationships start to go by the wayside.


Day 14
Valentines Fun 
(Not all pins but I thought I would share some of our fun from the day)

The first time that I did pigtails on Kylie Jo.  Not Easy doing them on a 2 year old who can't sit still!  She loved them though!


Hard at work on her Valentines.  (Notice some stickers found their way on her shirt haha)  


This was an art pin that I had seen.  The thumb prints are supposed to make hearts but I quickly decided that this was about having fun and forcing Kylie to make heart thumb prints wasn't going to be fun!  She loved doing this!


Strawberry Milk and chubby fingers!  Why I never would have thought of this on my own I don't know!  Can't wait for green milk for St. Patricks Day!  


She was LOVING her pink milk!


Yogurt, Strawberries, and grilled cheese!  She ate every bite!  

FYI: I found 101 cookie cutters for SUPER cheap on Amazon....a good thing to have with kids!    


Day 15 
Taco Tator Tot Bake 
(I think We'll call it Cheesy Corn and Bean Tacos because I can get Kylie Jo to eat it if I call it that haha)

I didn't used to be a big casserole fan but now that I'm a mom I have found that sometimes a casserole means less, "Eat Your Dinner or no (insert here whatever will make them eat)." talks.  I am SO over those battles, so out of the oven comes this tasty casserole.  As casseroles go this bad boy was actually really good.  It makes a lot, it's super easy, and it tastes almost just as good left over.  We liked it with cilantro and sour cream on it!  :)


Ingredients:

1 lb ground beef or ground turkey
1 small onion, diced
3 garlic cloves, minced
1 package taco seasoning, or 3 tbsp homemade taco seasoning
1 (16oz) bag frozen corn
1 (4oz) can green chiles, diced/drained
1 (12oz) can black beans, drained
2 cups shredded Mexican cheese
1 (16oz) package frozen tater tots
1 (10.5oz) can red enchilada sauce

Directions:

Preheat oven to 375. Lightly grease a 9x13 baking dish. Heat a skillet to medium high heat. Add in ground beef/turkey, onion, and garlic. Cook until meat is brown and onion is tender. Drain fat. Add in taco seasoning, frozen corn, green chiles, and beans. Cook until heated through. In a large bowl, combine the meat mixture, 1 cup cheese and tater tots. Mix until combined.
Pour about 1/3 of the enchilada sauce on bottom on 9x13 baking dish. Add in tater tot meat mixture and smooth to flat. Pour remaining enchilada sauce on top and bake in preheated oven for 40 minutes. During the last few minutes, sprinkle remaining cheese on top of dish and cook until melted. Serve warm!
*If you are a fan of black olives, you can add 1 small can to the mixture to change it up a bit


Friday, February 8, 2013

Pinterest Challenge Day 11-13

Day 11
Water Pin - Wash Bike

The pin I picked today had TONS of ideas for playing with water.  It would take us forever to get through all of the water play, so this pin is for sure to stick around.  One of the ideas was to let the kiddos wash their bike.  Such a simple idea but Kylie had a lot of fun.  She usually hates getting dirty/wet so I have been trying to expose her to situations where she has to get dirty and wet.  At first I thought she wasn't going to go for it because the water was a little cold but she got past her high maintenance self and got to work.  The win win is that she started workin on the van when the bike was "clean"! (probably because of my strategic placement of the bike...haha)    


1 Pin Saved

Day 12
Lila's Christmas Ornament & Stretchy, Squishy, Squeezy Goo

Well this is one of those pins that you see and think that is beautiful and it will be SO easy.  YEAH not the case!  It was not easy AT ALL to get the hand prints and foot prints of an active six month old onto a curved, slippery surface!  By the end of this ornament making fun I had paint, glitter, and glue all over the place!  Our version didn't turn out as visually appealing as I would have liked BUT I know when I hang this on the tree next year I will so appreciate seeing those 10 toes and 10 fingers.  My only thought is that it would be MUCH easier to do this on a newborn because the hands and feet would be smaller and move a little bit less!


This one is my favorite!  It might not be the prettiest looking but it looks the most like her actual foot print!


Now onto the Goo fun!  This was SOOOOOOOOOO much fun!  

1 cup of liquid Starch 
1 CUP of clear glue (8 ounces)
Break goo up into small bowls 
Use food coloring

At first I thought we were supposed to add one bottle of clear glue and I was sad because it didn't look like this was going to work.  When I read the pin more closely I realized that it said a cup.  The bottle of glue that I bought was only 5 ounces so we had to add more.  Then the goo magically started to form.  I don't know who this was more fun for!  I loved it just as much as Kylie Jo did.  We will probably be playing with this for days to come and we'll for sure make this Goo again!  


2 Pins Deleted


Day 13 
Map Magnet & Waffles

So I am almost half way done with my challenge and I'm still goin strong.  I have really enjoyed challenging myself.  I think when this 30 day Pinterest challenge is over I am going to start a 30 day working out and healthy eating challenge!  Not sure if I will blog about it BUT if anybody wants to join me in the work out/ eat better challenge let me know!  It could be fun! 

Today I started out with the map magnet pin.  Kylie loves puzzles right now so I thought this would be a fun change of our usual puzzle fun.  I found the USA map puzzle on ebay, put magnets on the back of each piece and voila.  It has amazed me at just how much Kylie likes this.  All day long she has been bringing me different states asking me what state it is and who lives there.  What amazed me the most was when I put Texas on the fridge for the first time that she already knew it before I told her.  Texas is just in her blood I guess!  This has been one of my favorite pins so far!  


Next up on the list was breakfast for dinner.  I haven't made waffles with my waffle maker since I was in college.  That is A LONG TIME!  I always make my own mix of whatever I feel like for pancakes but I have never made waffles from scratch so I was excited to give this recipe a try.  It was relatively easy, though I had to look up what beating an egg white to soft peaks was because I have yet to come across that in my cooking life.  I would for sure make this recipe again BUT I will probably try another recipe or two before I can say this is the best waffle recipe ever.    

INGREDIENTS:


3/4 cup all-purpose flour
1/4 cup cornstarch
1/2 teaspoon salt
1/2 teaspoon ground cinnamon
1/8 teaspoon ground nutmeg
1/2 teaspoon. baking powder
1/4 teaspoon baking soda
3/4 cup buttermilk
1/4 cup milk
6 tablespoons vegetable oil
1 large egg, separated
1 tablespoon sugar
1/2 tsp. vanilla extract

DIRECTIONS:

Heat the oven to 200°F and heat up the waffle iron.
Mix the flour, cornstarch, salt, cinnamon, nutmeg, baking powder, and baking soda in a medium bowl. Measure the buttermilk, milk, and vegetable oil in a measuring cup and stir in the egg yolk. Set aside.
In another bowl, beat the egg white almost to soft peaks. Sprinkle in the sugar and continue to beat until the peaks are firm and glossy. Beat in the vanilla.
Pour the buttermilk mixture into the dry ingredients and whisk until just mixed. Drop the whipped egg white onto the batter in dollops and fold in with a spatula until just incorporated.
Pour the batter onto the hot waffle iron (My Belgian waffle maker takes 2 1/2 ice cream scoops of batter, but your mileage may vary) and cook until the waffle is crisp and brown.
Set the waffle directly on the oven rack to keep it warm and crisp. Repeat with the remaining batter, holding the waffles in the oven (don't stack them). When all the waffles are cooked, serve immediately.


1 Pin deleted and 1 Pin Saved!